A Guide to Night Sky Photography
Throughout history, humans have been mesmerized by the captivating and mysterious beauty of the night sky. It's no surprise that photography enthusiasts and stargazers alike are drawn to capturing its glittering stars and cosmic phenomena. However, successfully photographing the night sky can be challenging due to the distinct conditions and camera settings required. Whether you're an experienced photographer or a beginner, this guide will provide you with the knowledge and tools you need to take your awe-inspiring shots of the night sky. Capturing breathtaking night sky photos is a challenging yet rewarding experience for any photographer.
In this blog post, we'll explore the essential techniques and equipment necessary for capturing stunning night sky photos. We'll cover everything from selecting the right location to adjusting your camera settings, providing both beginners and experienced photographers with the knowledge and tools they need to take their awe-inspiring shots of the night sky.
The Basics:
To capture stunning night sky photos, you'll need to choose the right equipment, including a camera with manual controls, a sturdy tripod, and a wide-angle lens. Additionally, understanding the key camera settings, such as shutter speed, aperture, and ISO, is crucial to achieving the desired results. You'll also need to choose the right location, away from light pollution, to get the best shots.
Equipment:
Capturing the good night sky photos requires the right equipment. Firstly, a sturdy tripod is essential to keep the camera steady during long exposures, otherwise, your stars will have trails and look more like comets. If you have a tripod on the flimsier side, bring some sort of weight to hang from the center of your tripod or lay across the legs. You can buy sandbags made specifically for weighing down equipment, or you can make your own. This can be as simple as throwing some water bottles in a tote bag or even hanging your camera bag if it’s small enough to fit under the tripod. Additionally, a remote shutter release or timer is useful to avoid camera shaking when pressing the shutter button. When taking photos with such long exposures, even the smallest bumps and movements can affect the outcome of the photo.
Equipment:
Capturing the good night sky photos requires the right equipment. Firstly, a sturdy tripod is essential to keep the camera steady during long exposures, otherwise, your stars will have trails and look more like comets. If you have a tripod on the flimsier side, bring some sort of weight to hang from the center of your tripod or lay across the legs. You can buy sandbags made specifically for weighing down equipment, or you can make your own. This can be as simple as throwing some water bottles in a tote bag or even hanging your camera bag if it’s small enough to fit under the tripod. Additionally, a remote shutter release or timer is useful to avoid camera shaking when pressing the shutter button. When taking photos with such long exposures, even the smallest bumps and movements can affect the outcome of the photo.
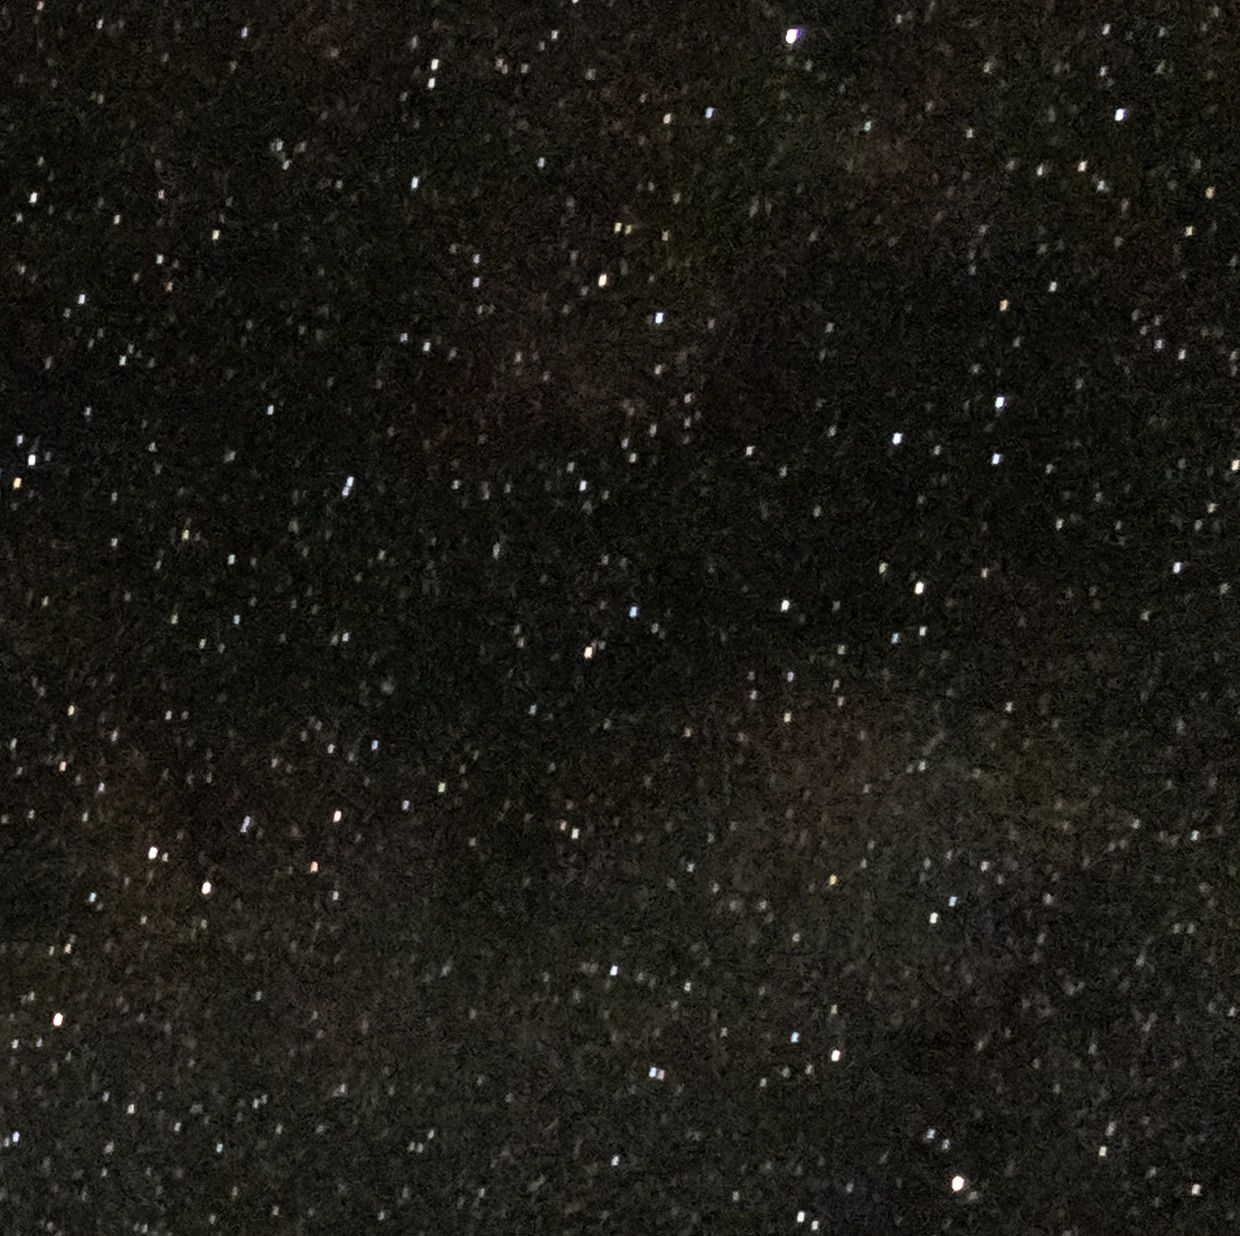
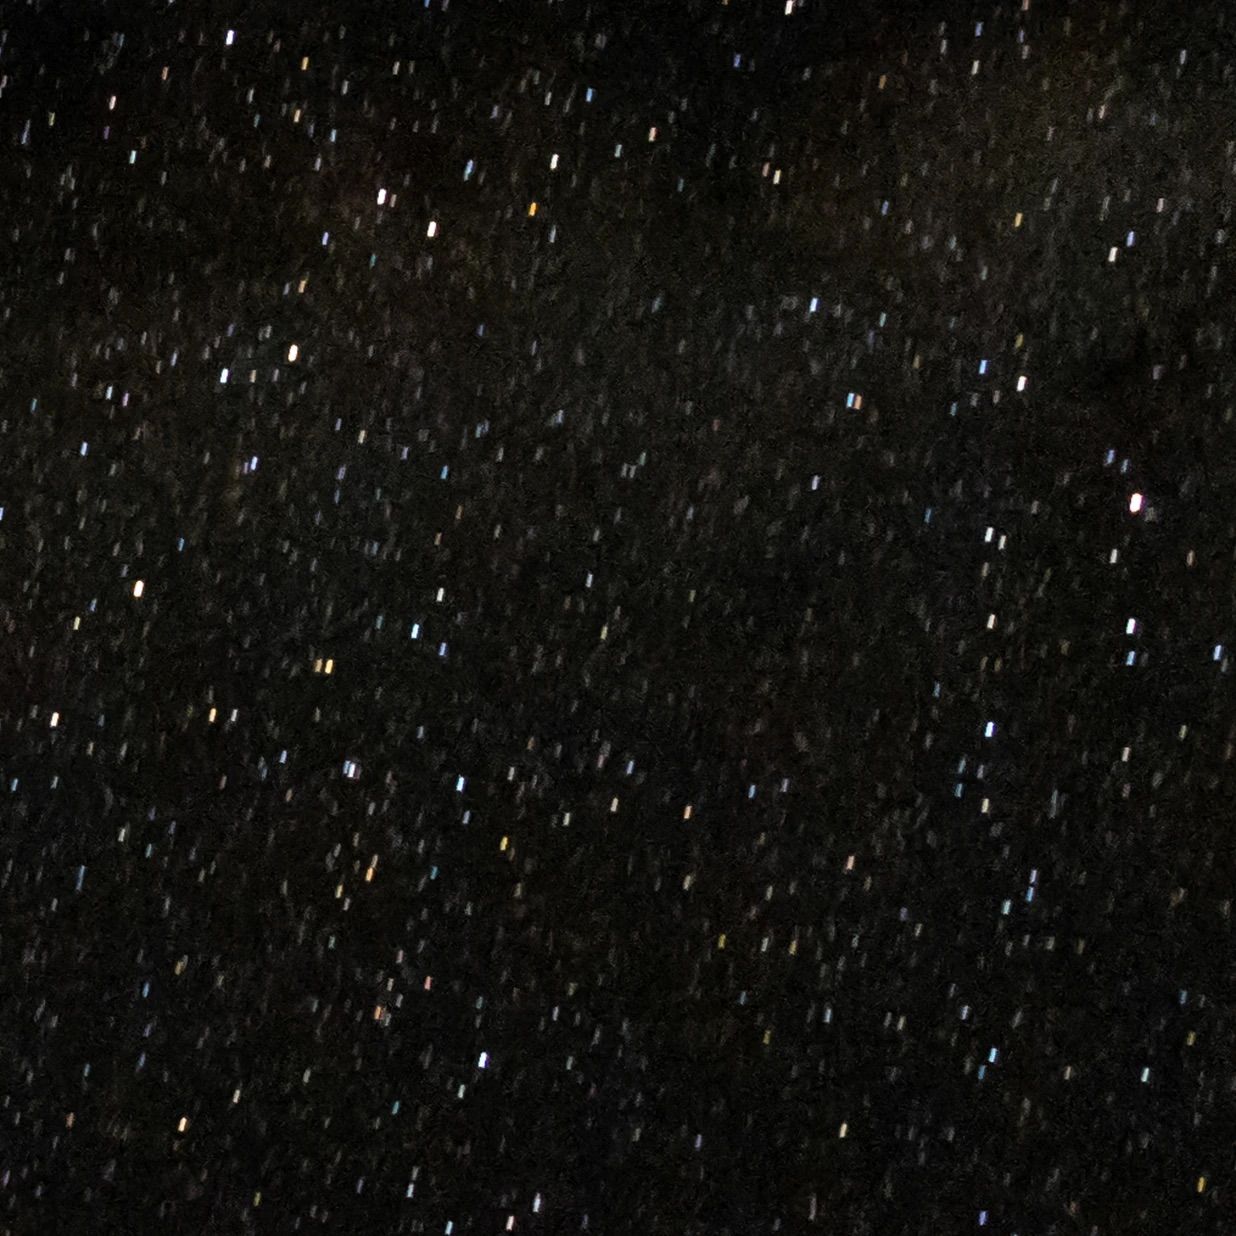
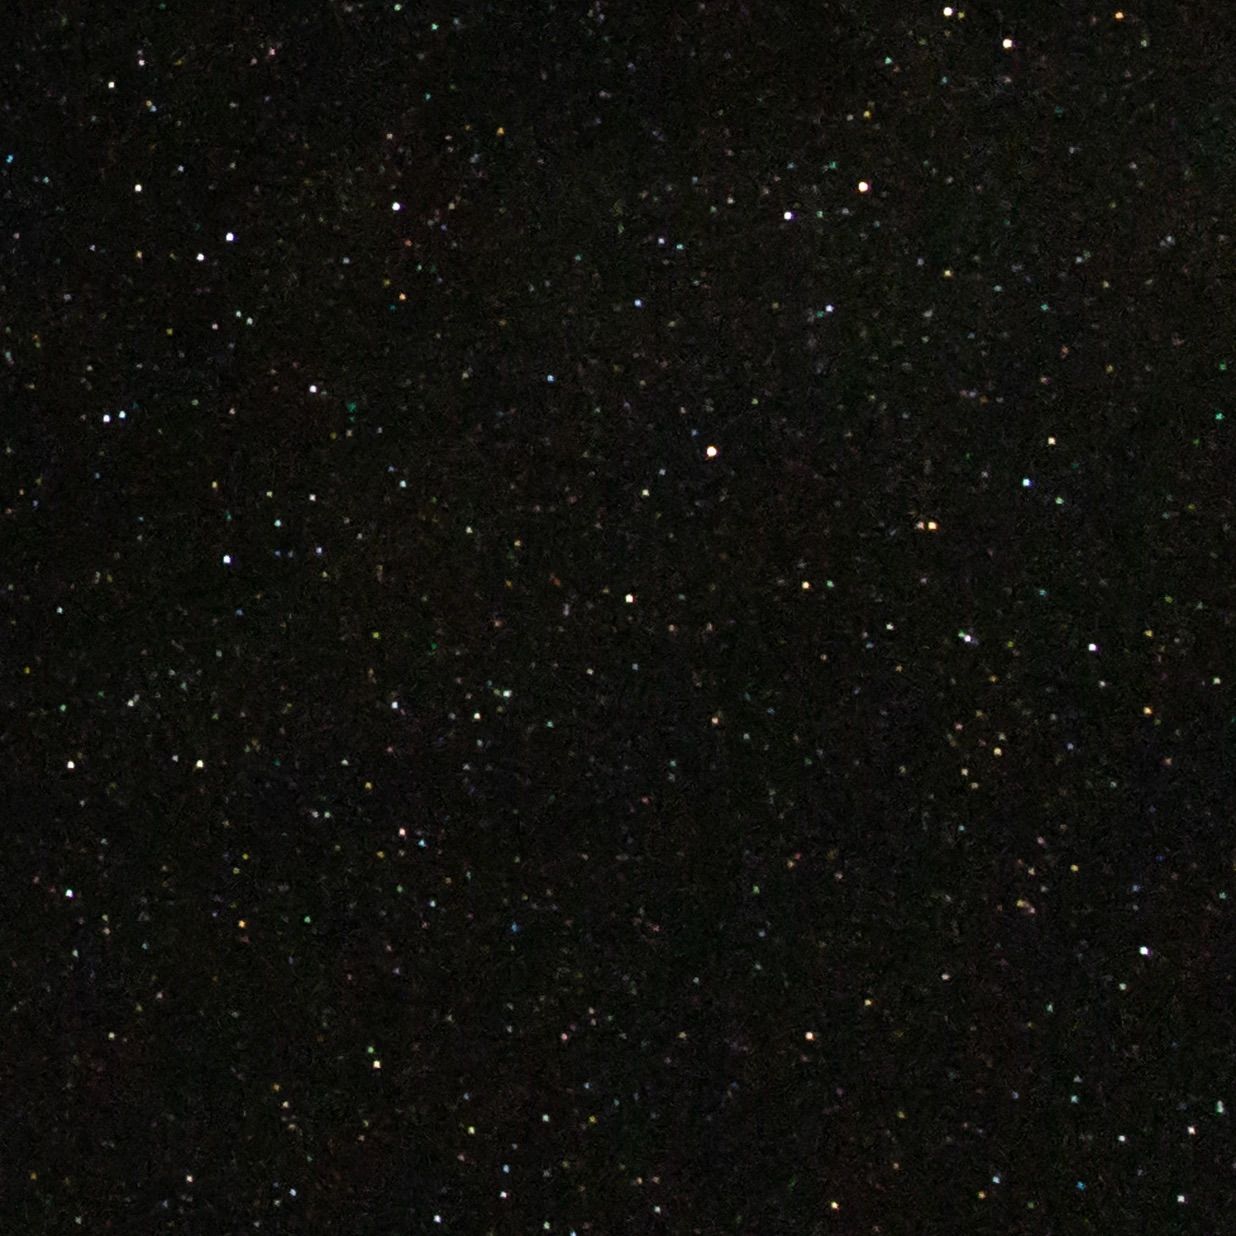
The more the camera shakes, the less circular the stars appear.
A wide-angle lens is another important piece of equipment, as it allows you to capture a wider field of view, making it easier to capture the sky's vastness. I use a 24mm lens, but any focal length between 10mm and 50mm will be a good place to start. A lens with an aperture of f/4.0 or lower is also preferable, but we will discuss that more later.
Location, Location, Location:
Choosing the right location is crucial when taking night sky photos, as it can significantly impact the outcome of your photos. Ideally, the location should be far from sources of light pollution, such as cities or street lights, to avoid unwanted light interference and to capture the true beauty of the night sky. Additionally, the location should offer a clear and unobstructed view of the sky, without any trees, buildings, or other objects blocking the view. The Bortle Scale essentially rates how dark the sky is in a given area, taking into account light pollution and sky glow. A lower rating indicates a darker sky, and skies rated class 3 and lower are ideal for astrophotography. Before picking a location to take photos, consider looking up the Bortle rating in the area.
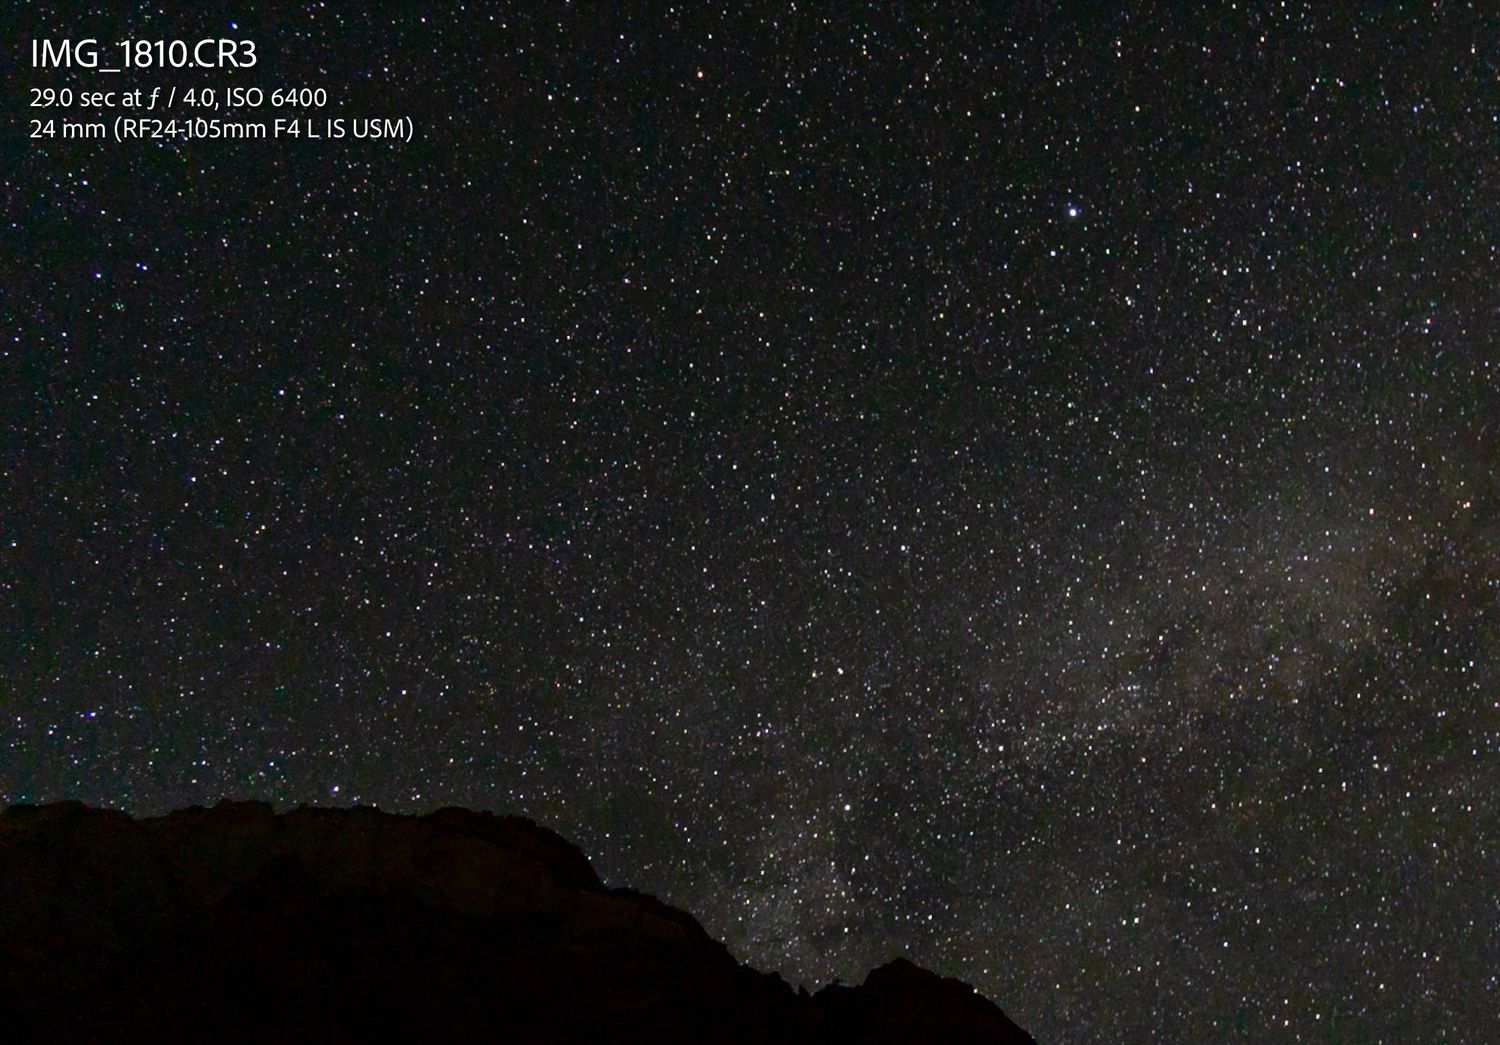
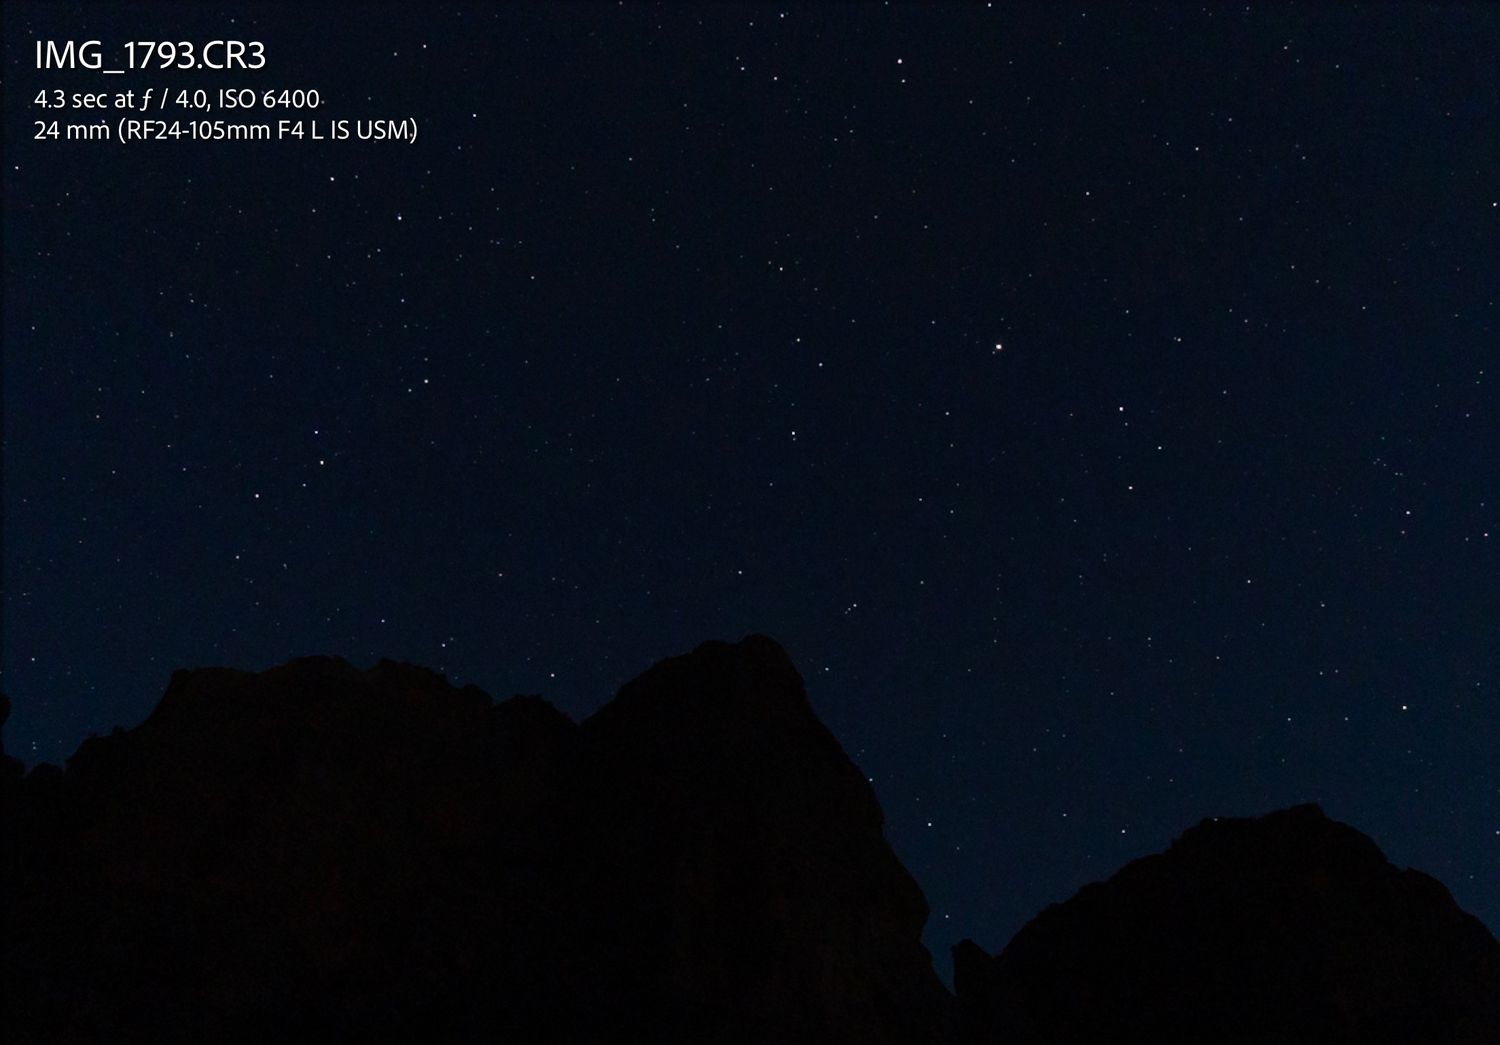
You can see how few stars show up in the photo on the left taken with a shutter speed of 4.3 seconds as compared to the photo on the right with a shutter speed of 29 seconds.
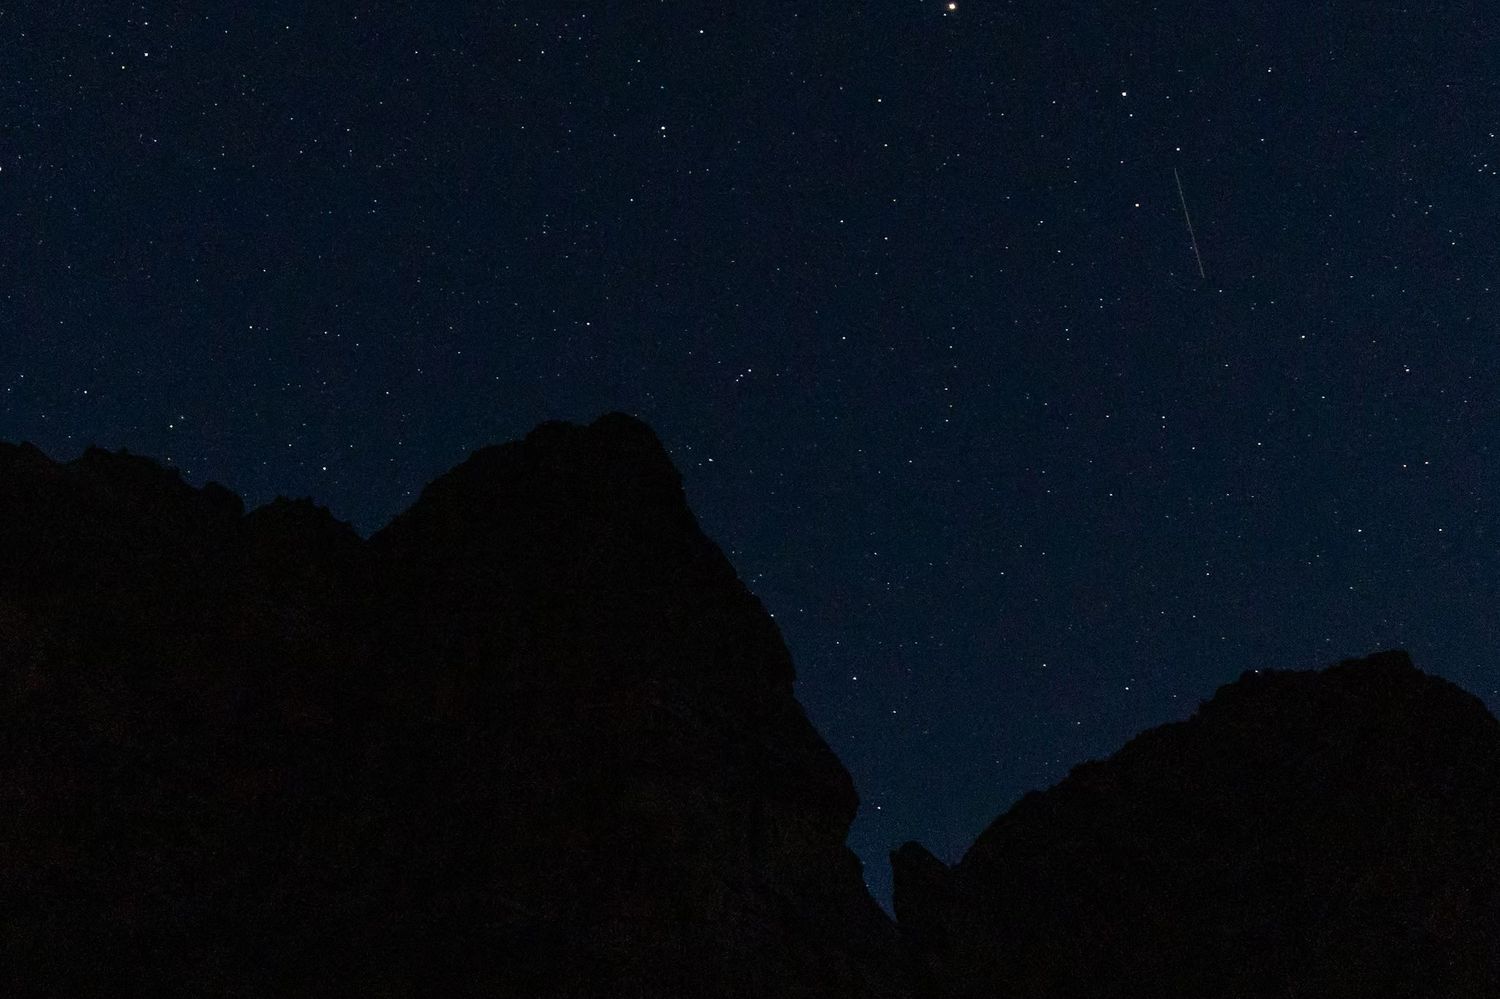
Another way to ensure your photo is bright enough is by using a lens with a wide aperture. Similarly, a wider aperture lets more light into the camera, making it easier to see and capture details in the sky, including stars and other celestial objects. A wide aperture also reduces the need for longer exposure times meaning you are less likely to have a blurry photo. However, wide apertures create a shallower depth of field, which means you do have to pay closer attention when checking to see if your desired subject is in focus. This can be difficult because you have to use manual focus, not auto, when taking pictures of stars.
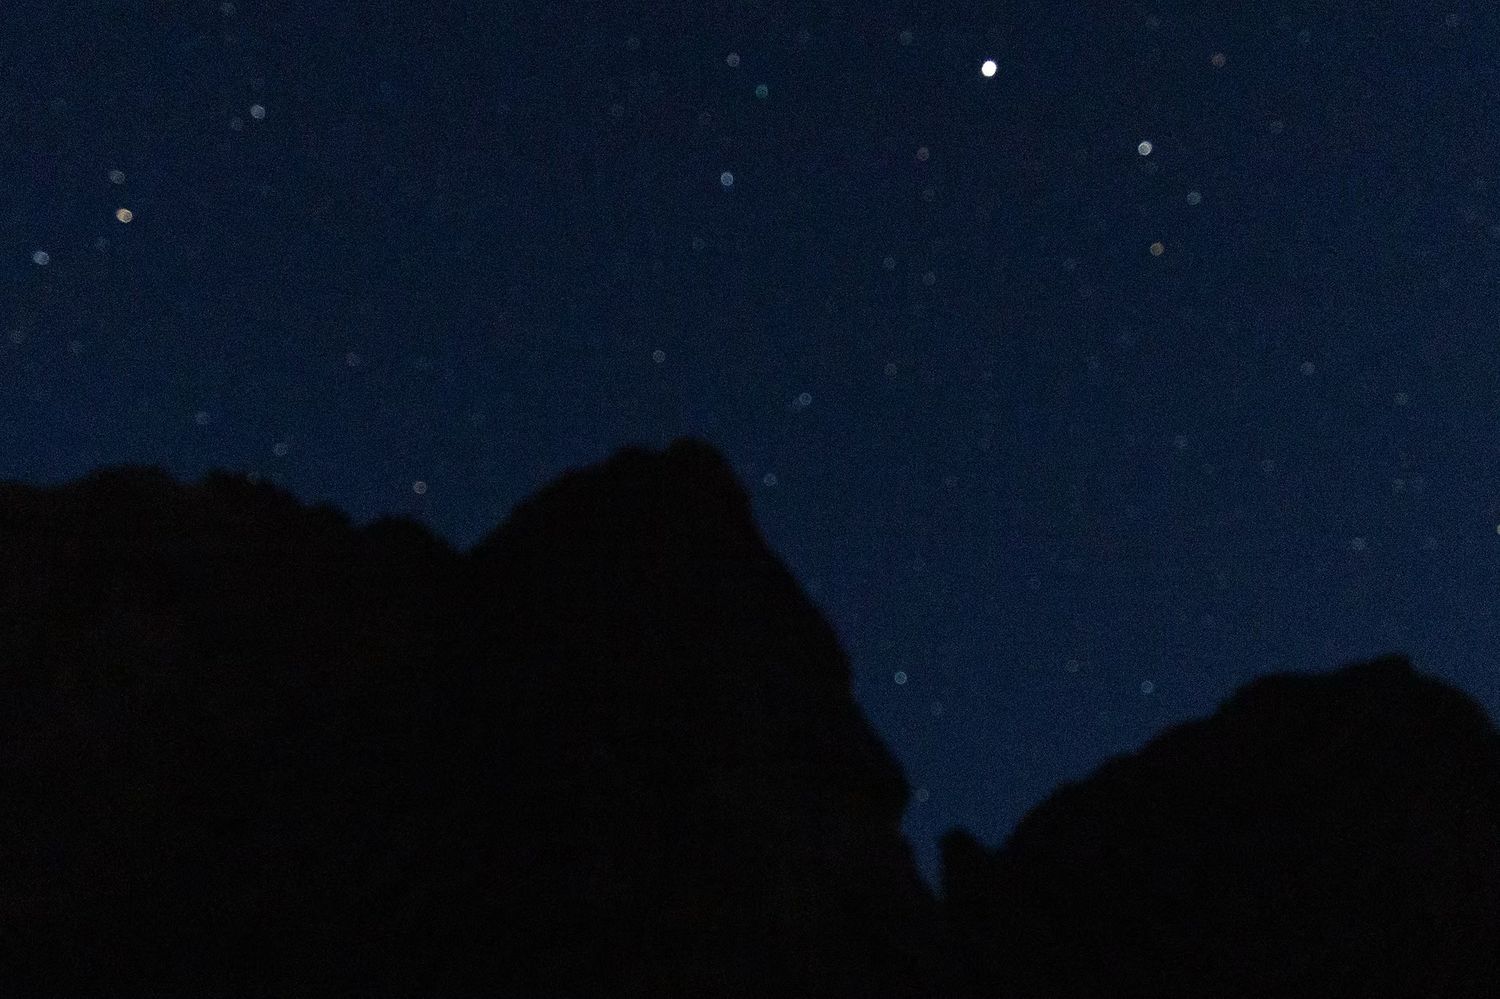
Stars out of focus.
Stars correctly in focus.
The last setting to pay attention to is ISO which is your camera's sensitivity to light. The important thing to know here is that a higher ISO number results in a brighter image while a lower number results in a darker image. While a high ISO can be very helpful in ensuring your photo is bright enough, too high an ISO can result in very grainy images that take away from actual stars. Sometimes grainy or "noisey" photos are hard to notice on your small camera screen, so it is important to keep this factor in mind while shooting. Otherwise, you might end up with a lot of noisey photos but not realize it until you look at them on your computer or try printing them out.
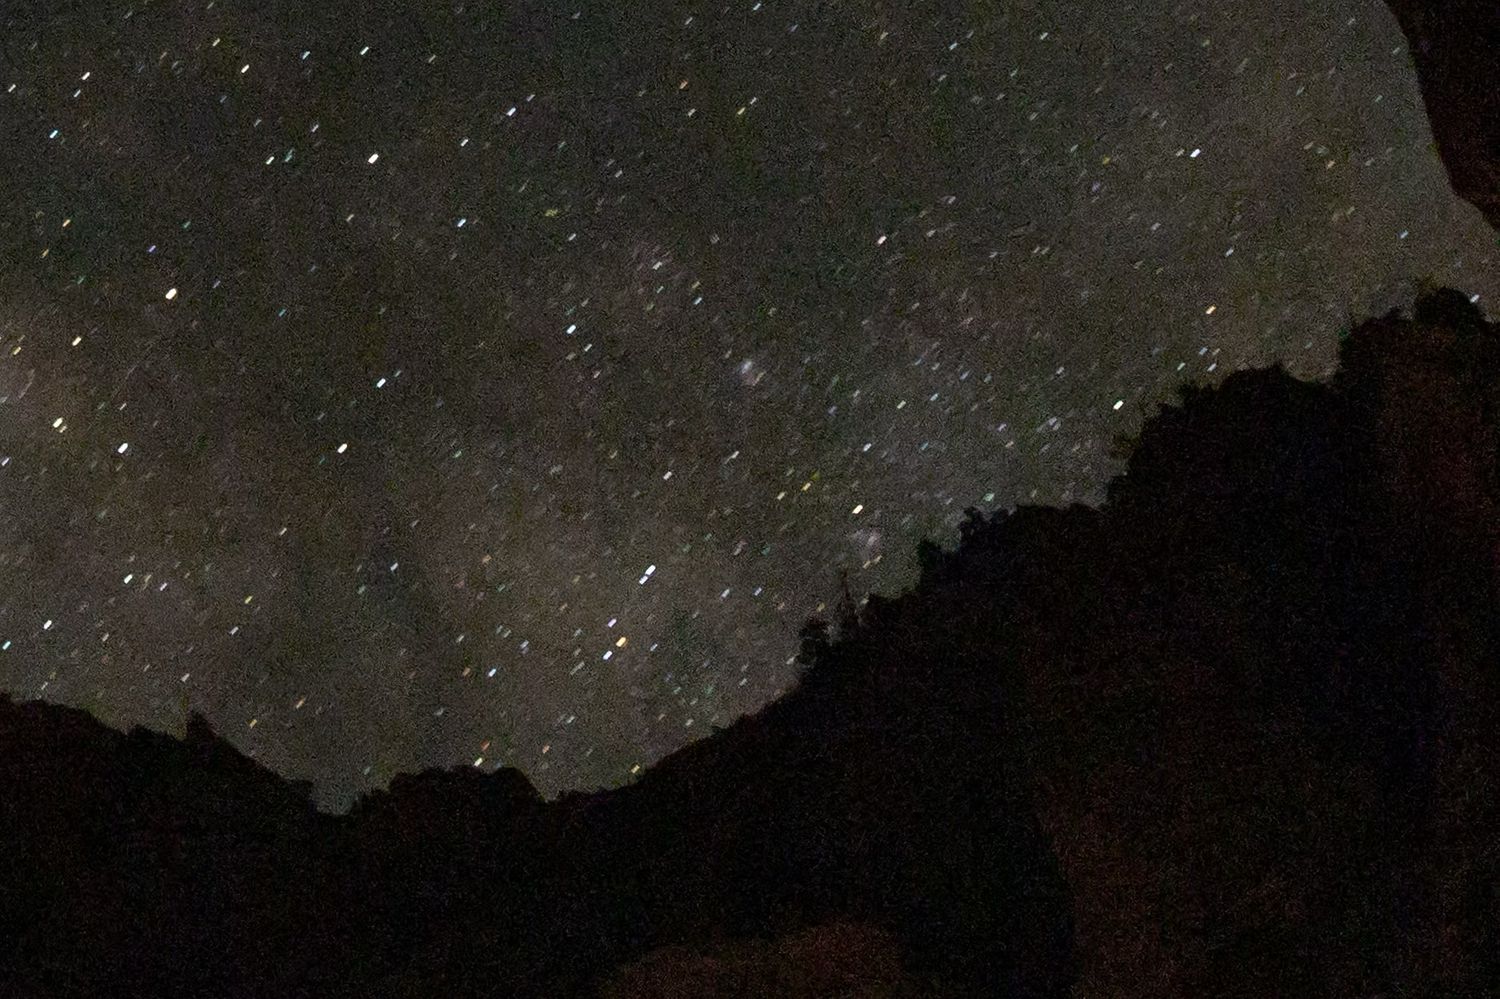
This photo looks good on a small scale, but it wouldn't be a good picture to print out very large.
Zoomed in, you can see how grainy the sky is and how blurry the stars are.
Understanding the “exposure triangle,” or the relationship between shutter speed, aperture, and ISO is essential to achieving high-quality night sky photos. It is a give-and-take relationship between the three settings meaning that increasing one may mean you need to decrease another. My suggestion to get started would be a shutter speed of 15 seconds, an aperture of 4.0, and an ISO of 800-1600. However, there are no universal settings for astrophotography because many other factors are involved such as what equipment you are using and where you are located. The best way to learn this relationship and figure out what works for you is through practice and experimentation.
The Settings:
Capturing the good night sky photos requires the right equipment. Firstly, a sturdy tripod is essential to keep the camera steady during long exposures, otherwise, your stars will have trails and look more like comets. If you have a tripod on the flimsier side, bring some sort of weight to hang from the center of your tripod or lay across the legs. You can buy sandbags made specifically for weighing down equipment, or you can make your own. This can be as simple as throwing some water bottles in a tote bag or even hanging your camera bag if it’s small enough to fit under the tripod. Additionally, a remote shutter release or timer is useful to avoid camera shaking when pressing the shutter button. When taking photos with such long exposures, even the smallest bumps and movements can affect the outcome of the photo.
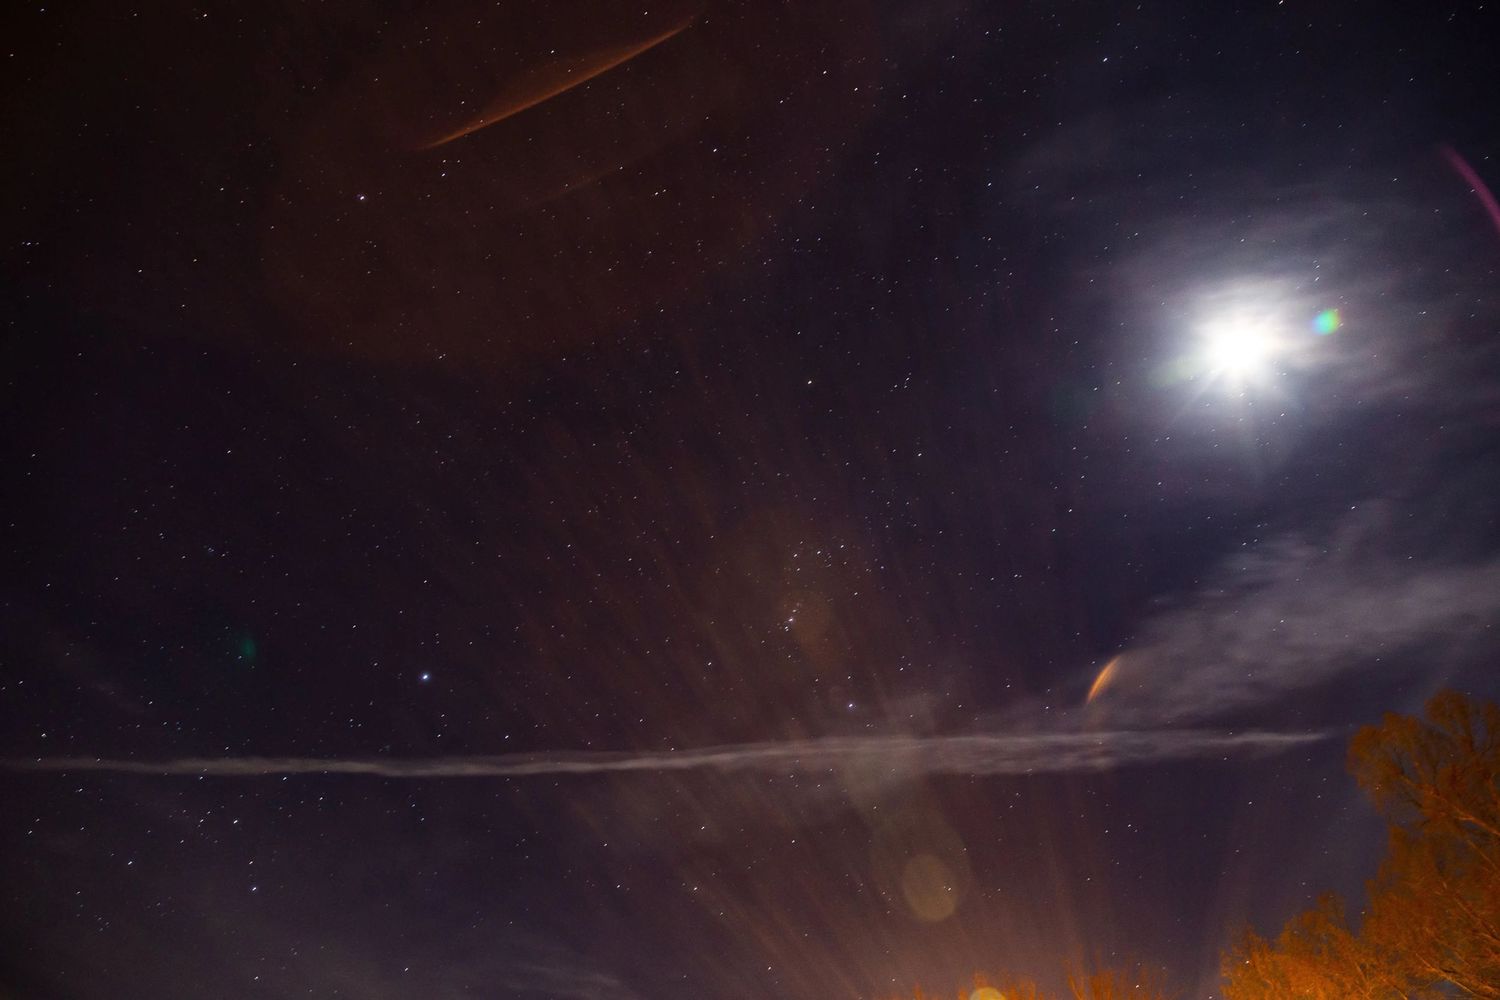
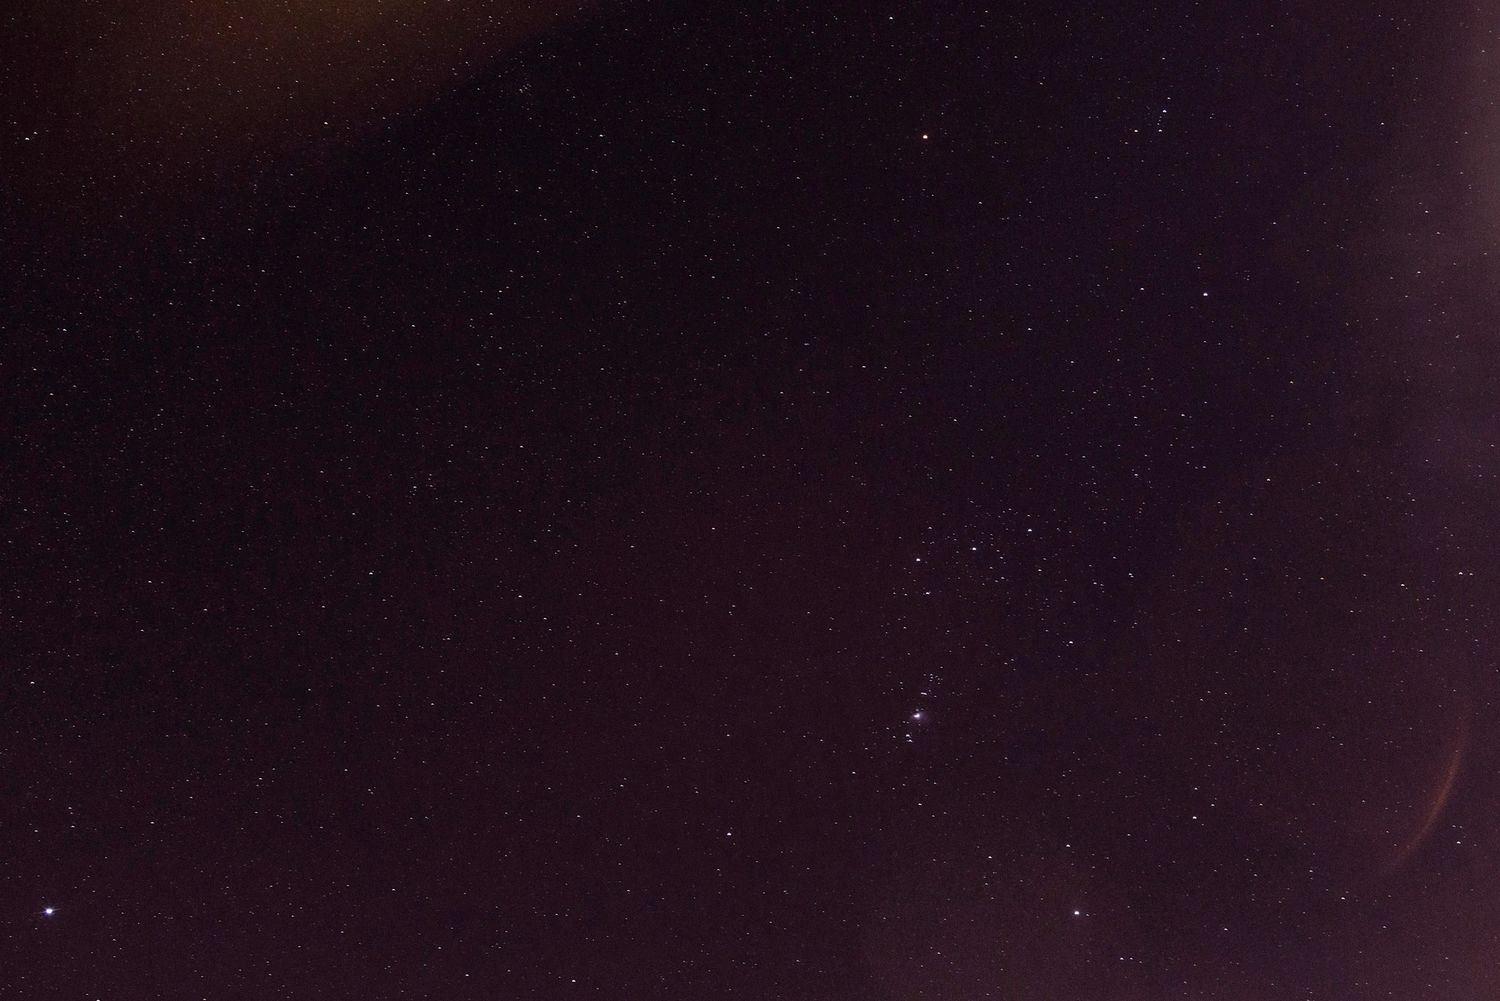
These photos were taken in the middle of a city in Arkansas. You can see how few stars show up as well as the glare from lights and discoloration that occurs. This area is rated a class 5 or 6 on the Bortle scale which explains why the pictures didn't turn out great. Even if the Milky Way is in the sky, it is almost impossible to capture with this much light pollution.
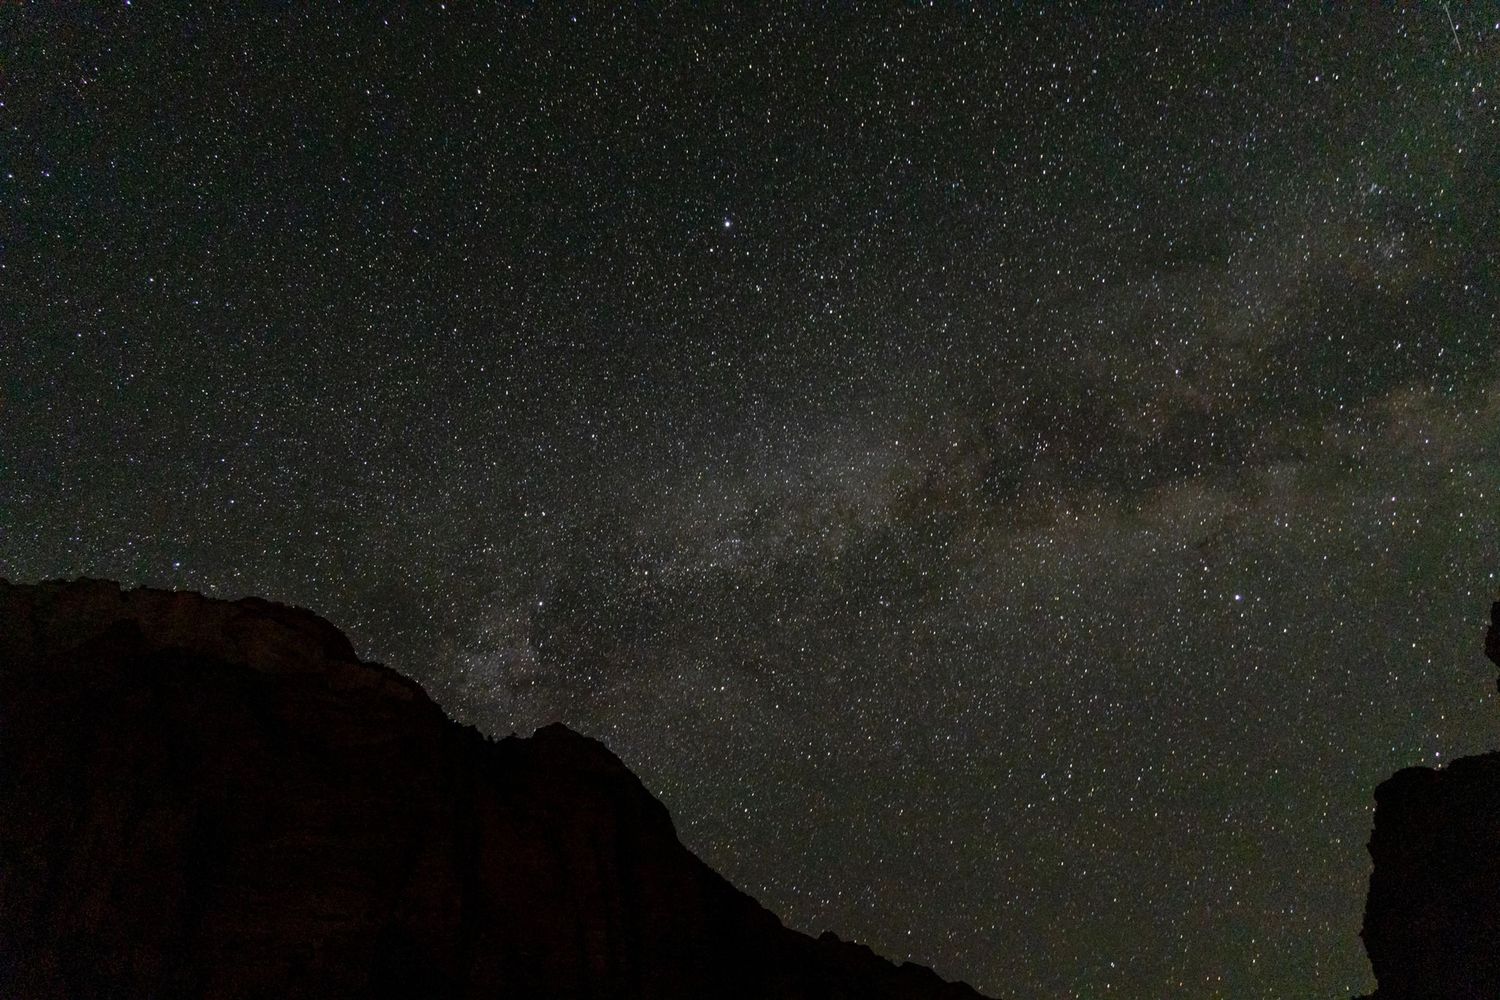
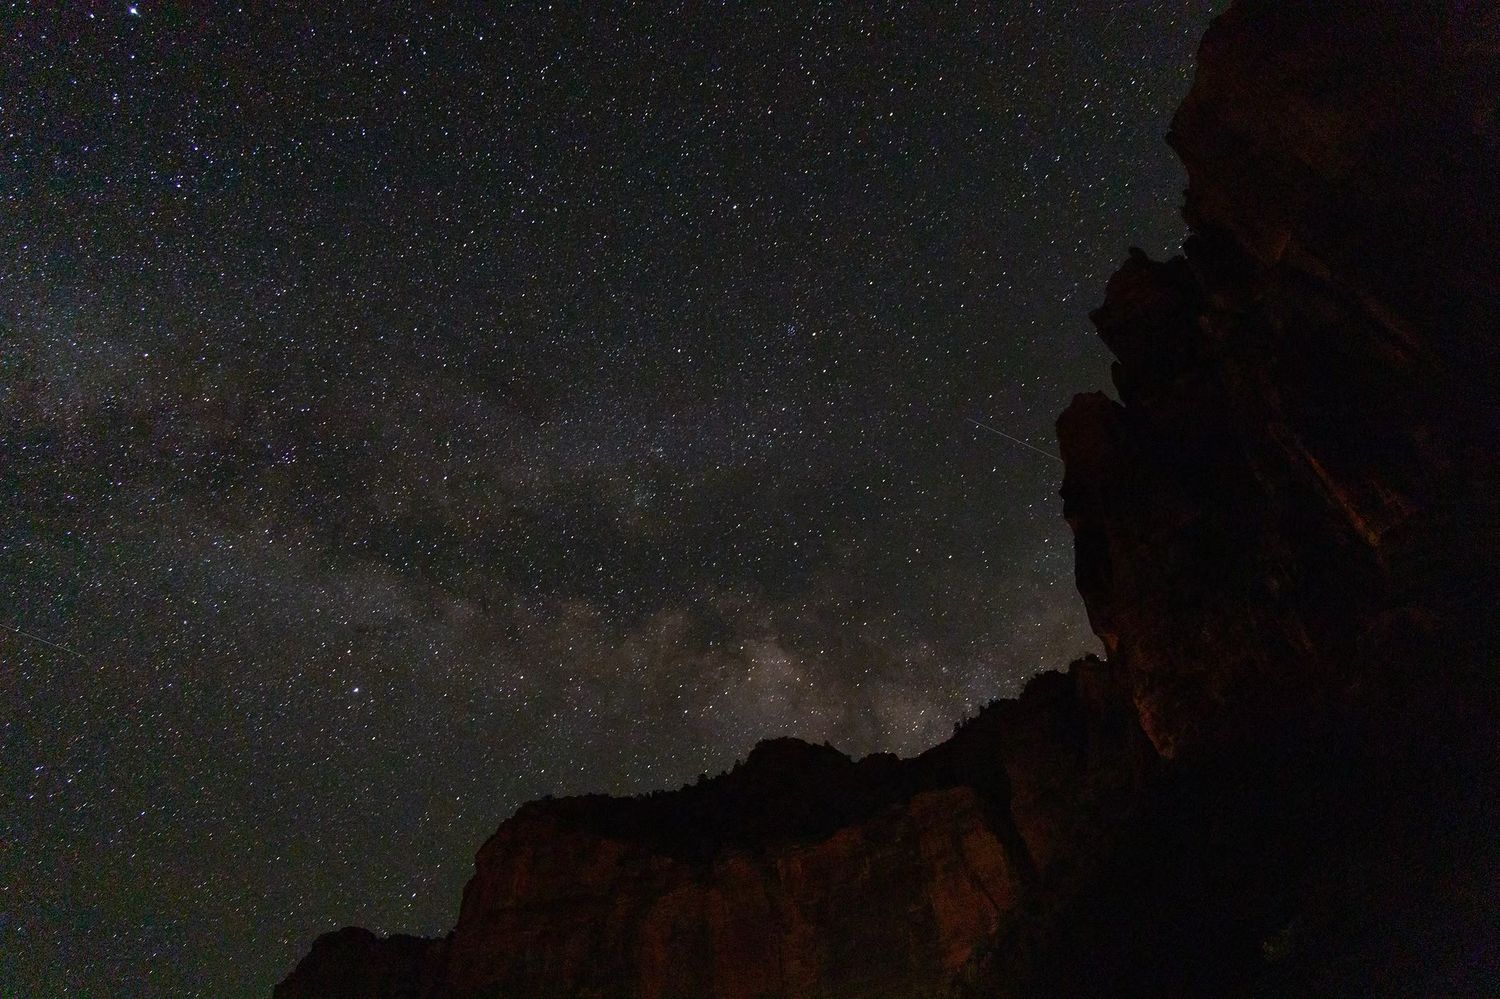
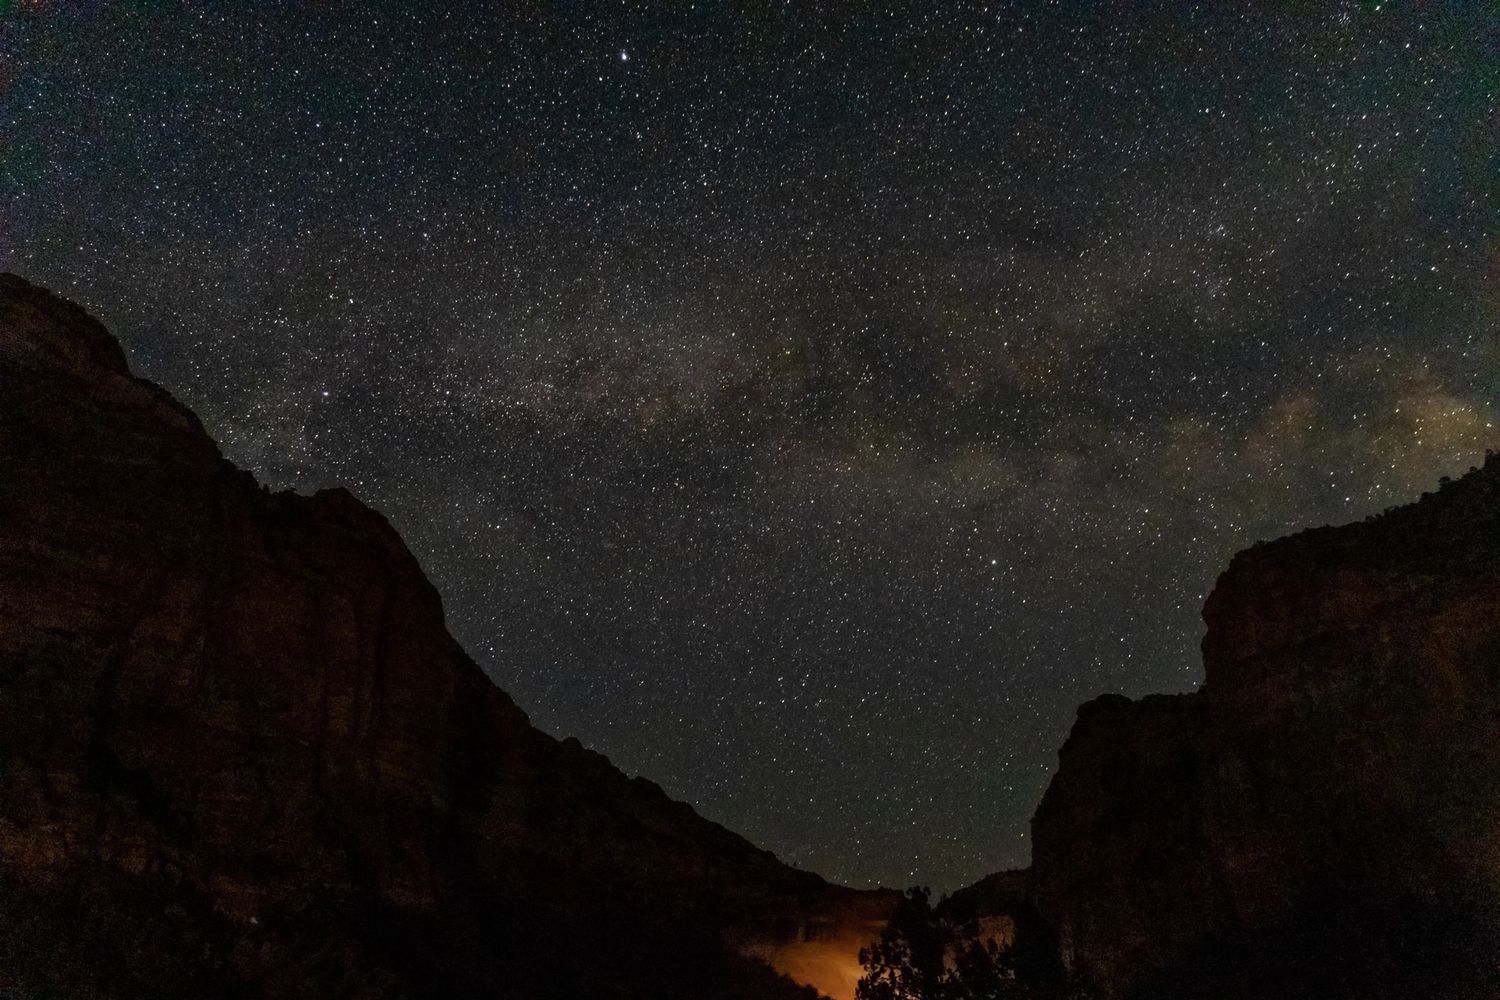
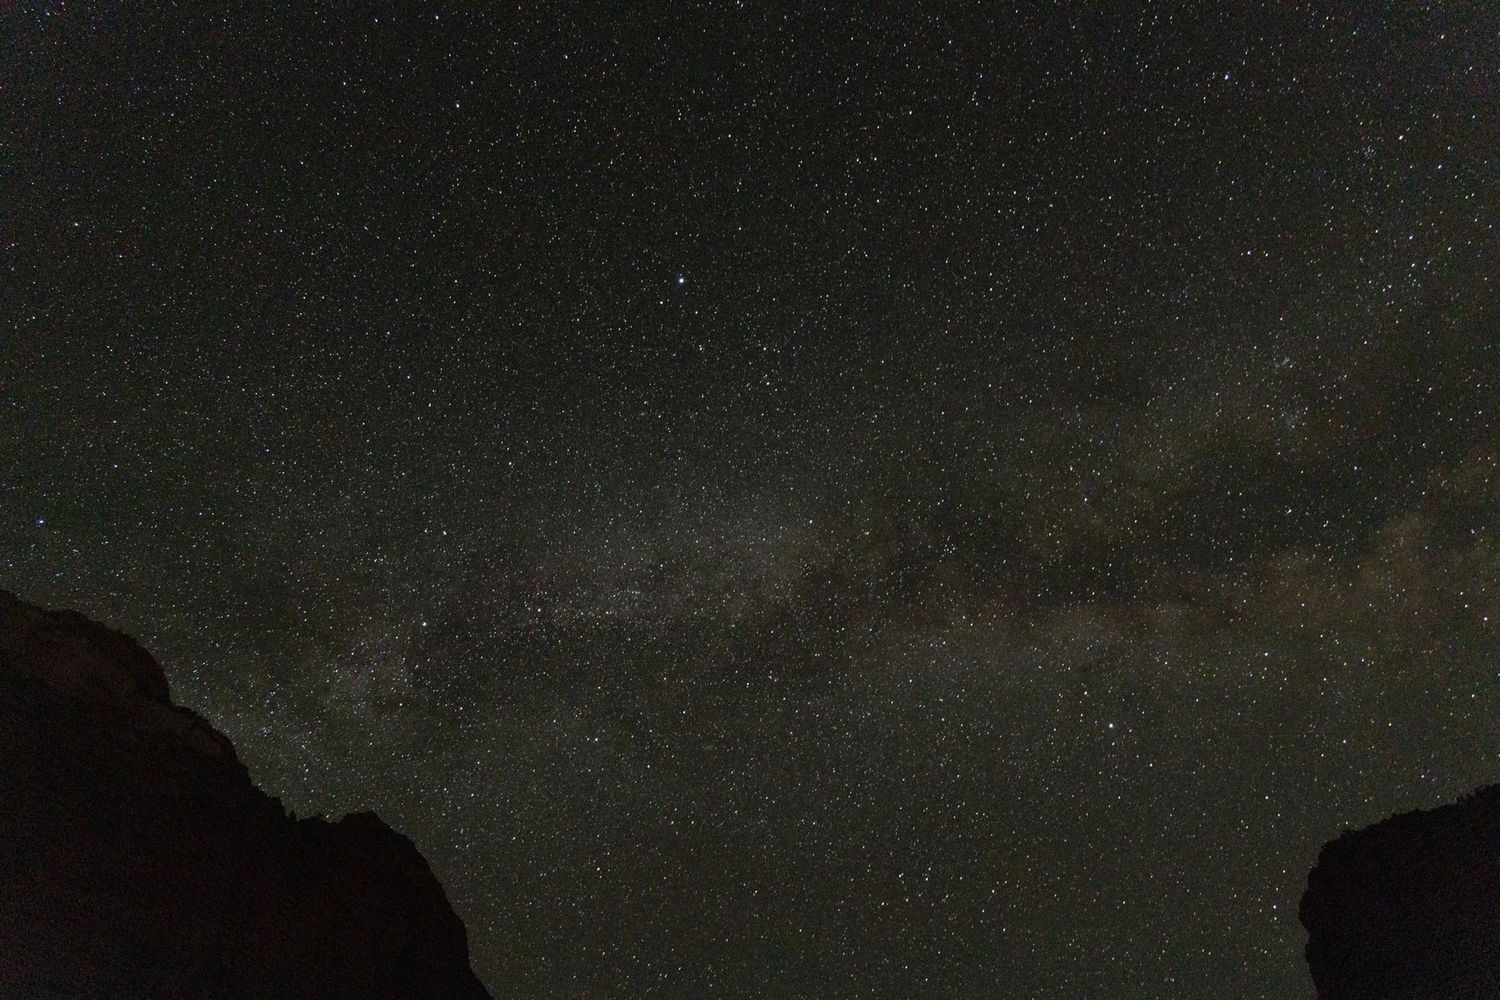
These photos were taken at a Zion National Park in Utah which has class 1 dark skies according to the Bottle Scale. This is the lowest possible rating and is ideal for photographing more faint celestial bodies. These photos both capture the edge of the Milky Way which is only possible due to the extremely dark skies.
The time of year and the position of the moon should also be considered when selecting a location. For example, capturing the Milky Way may require specific times of the year and specific angles. Safety should also be taken into consideration when choosing a location, especially when taking photos in remote areas at night. Several free apps exist that predict the location of planets and stars if you are interested in photographing a specific celestial body. Checking the weather is also important as clouds can heavily obstruct views of the sky. By carefully selecting the location, you can increase the chances of capturing stunning night sky photos.
Final Thoughts:
Capturing the night sky through photography can be a challenging yet rewarding experience. By selecting the right equipment, understanding the key camera settings, and choosing the ideal location, you can capture impressive night sky photos that showcase glittering stars and celestial phenomena. Remember that experimenting with different settings and locations is essential to finding what works best for you, and don't forget to have fun and enjoy the experience itself. With the tips and techniques covered in this guide, photographers of all levels can take their astrophotography to the next level, so grab your camera and head out to capture the mesmerizing beauty of the night sky.